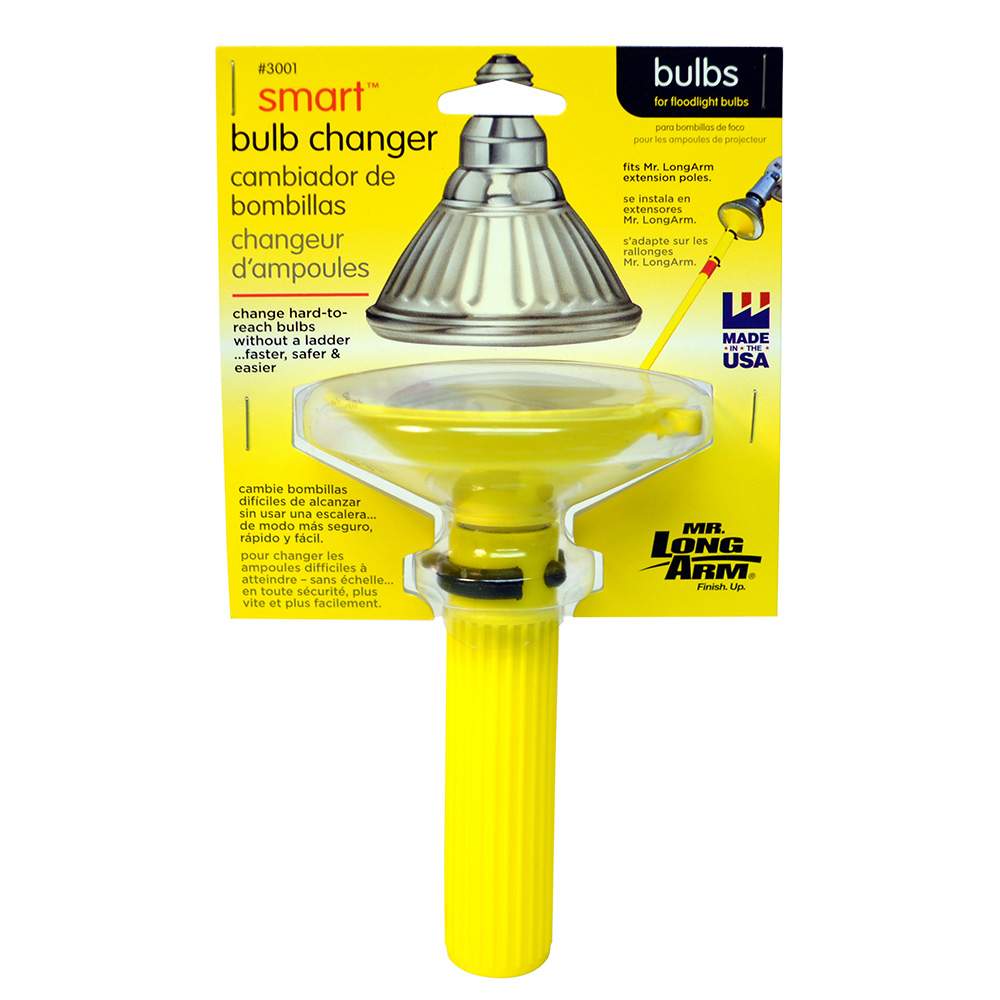
Size Specifications & Safety Info
The floodlight bulb changer fits spotlight and floodlight bulbs. The bulbs must be smooth faced glass or plastic with a surface area no less than 3.5” in diameter. Anything smaller and you may need the smaller spotlight bulb changer.
Mr. LongArm bulb changers and bulb changing extension poles are non-conductive which means they won’t conduct electricity as long as they are completely dry. Having said that you should always turn off your light switch before changing any bulb! Also, use safety goggles when changing light bulbs just in case one breaks while you are working with it.
Attach the Bulb Changer to an Extension Pole and Prepare to Change a Bulb
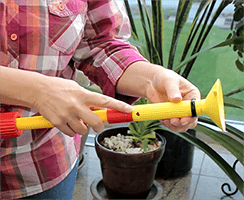
Next, you’ll want to attach the bulb changer handle to your extension pole. If you’ve purchased one of our non-conductive extension poles it will have a hole drilled through the threaded end to accept a lock clip which keeps it from loosening during bulb removal. Just tighten down the bulb changer handle by screwing it on clockwise, making sure the hole in the bottom of the handle aligns with the hole in the threaded end on the pole and insert the lock clip.
If you don’t have one of our non-conductive poles just be sure to tighten down the handle very firmly to avoid having it unscrew when removing light bulbs. Mr. LongArm’s heavy duty poles have a lok-thread which will keep the bulb changer handle from loosening once it’s screwed down.
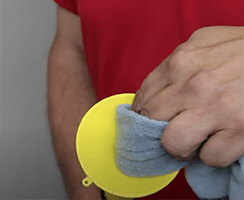
Adjust your extension pole to the height needed to comfortably reach the bulb. Now make sure the inside of the cup is clean, we suggest wiping it down with a slightly damp cloth. This will help you get a good suction on the bulb. Also make sure the pin is engaged so the hole in the cup is closed, otherwise you won’t be able to get suction on the bulb.
Remove an Existing Burned-out Spotlight or Floodlight Bulb
Note: If your burned-out light bulb is dusty, you should clean it prior to removal so you can attain a good suction. If you don’t have anything to dust it with wrap a microfiber cloth over the empty suction cup and fasten with a rubber band. Raise it up and dust the off old bulb, remove the cloth and now you’re ready to proceed.
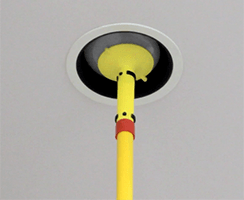
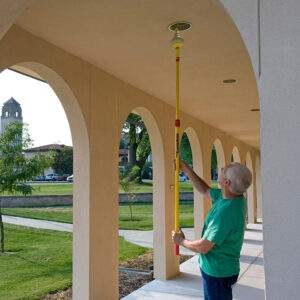
Align the bulb changer directly below the bulb, lift it up to the bulb and push to attain suction. Once you are sure you have good suction unscrew the light bulb by turning it to the left and carefully lower the bulb. To release the suction hold the bulb and pull down on the handle, this will disengage the pin and the bulb will release.
Install a New Spotlight or Floodlight Bulb
Now you’re ready to put the new bulb in place. Hold the new bulb in your hand and push the bulb changer onto its face to attain suction. Check to make sure it’s secure and then raise the bulb up to the fixture. Screw the bulb in place by turning it to the right, don’t over-tighten. To release the suction pull down on the handle, this will disengage the pin and the bulb will release.
Additional Information
Sometimes you may encounter a bulb that has corroded in place or one that has been over-tightened and you may have to remove those bulbs by hand. But you should be able to install the new bulb with your Mr. LongArm bulb changer.
If you have additional questions about using our bulb changer kits you can contact Mr. LongArm’s Customer Service Department at 816-537-6777 or 1-800-821-3508. You can also use our Customer Contact form.