
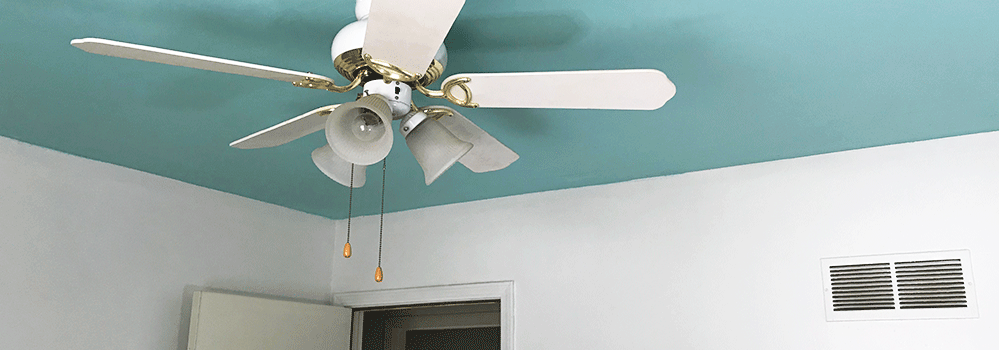
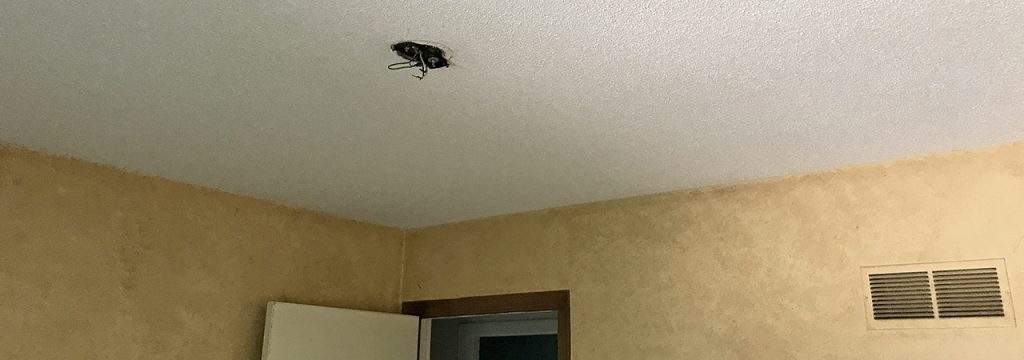
The ceilings in our homes are often bland and boring, for years the white ceiling has been all I have seen when walking into a house. A growing trend amongst homeowners has been painting their ceilings vibrant colors to give their home’s interior a more cheerful and eclectic mood.
Previously when you’ve redesigned a room how much attention did you pay to choosing the wall color? The art that covers much of those walls? How about the flooring? The furniture and rugs that cover that floor? Now what about the ceiling? The human eye is drawn to contrast, even with richly painted walls and perfectly matching floors, the first thing a person is going to notice is your bright white (probably popcorn) ceilings. So how does one craft an aesthetically pleasing ceiling to enhance a perfect living space?
Want Some Popcorn with That?
The first question you need to answer is whether or not you want a textured ceiling. A majority of homes in the US and Canada built in the last 30 years are going to have popcorn ceilings. While popcorn ceilings help hide imperfections and slightly deaden noise. They are hard to clean, difficult to repair or paint and frankly look outdated. Also, if your house was built prior to 1977 you should consider having your popcorn ceiling tested for asbestos.
If you want to keep the textured ceiling but add some color, treat it like an accent wall. Paint the ceiling first using a ¾” nap roller cover. After the 2nd or 3rd coat, use a paint brush, or an even better option, the Mr. LongArm Paint Edger, to cut-in where the ceilings and walls meet. Now lets take a look at the process for removing the texture from your ceiling if you’ve chosen that path.
Removing the Popcorn Texture
Removing the popcorn ceiling texture isn’t a hard project, but it will take some time. We recommend using the following tools to speed things up:
- Small Pump Tank Sprayer filled with water
- 8” Steel Scraper with either an 18” handle or threaded end to attach to a MLA Extension Pole
- Painters Tape
- Plastic Sheeting
- Box Knife
- Drop Cloth or Tarp
- Screw Driver and Ladder (if there is a ceiling fan or other light fixture in the room)
Prepping the Room
To start, the dust and debris from scraping a popcorn ceiling can get all over your house and even clog your homes ventilation system. We recommend shutting off your heater or AC and opening a window, if weather permits, until you are done prepping and the area has been cleaned up.
Our project room had a ceiling fan, so we also shut the power off at the breakers and removed the fan. We recommend using plastic sheeting to cover all vents and electrical outlets. Use your box cutter and painters tape to cut the sheeting and keep it in place.
Spray and Scrape Process
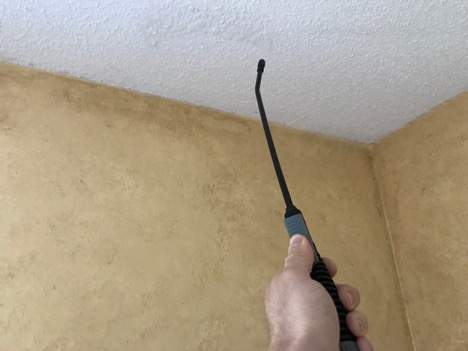
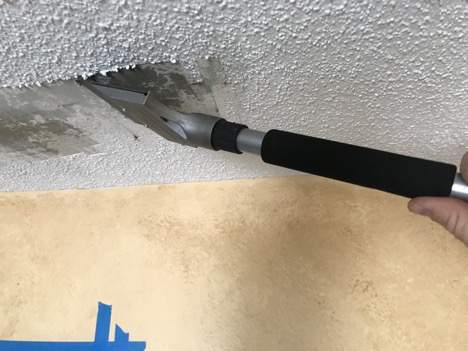
To actually remove the texture, we suggest working in smaller 3-4’ sections. Place your drop cloth under the section of ceiling you are working on. Use the pump sprayer to completely coat the section with water. Then allow the water roughly 10 minutes to soak. Spraying first will keep the dust to a minimum as well as make the actual scraping much easier. When the 10 minutes is up begin scraping towards the center of the room and move in the direction of the walls. Repeat the sectioning process as many times as it takes to finish the room.
Sanding
When all the popcorn has been completely removed, using a sander attached to a Mr. LongArm extension pole, smooth out and sand down any digs or divots you may have created while scraping. The smoother the ceiling is after this step the better your final product is going to look.
Since the water helps keep the texture material clumped up almost all of the waste should be in your drop cloth, gather it up and take it out to your trash can. Anything left over should be easy work for a dustpan and broom. After you’re done cleaning up remove the plastic sheeting from the vents and electrical outlets.
What to Consider When Choosing a Color
Generally speaking paint choice comes down to only a few options. A ceiling that is painted lighter than the rooms walls will appear higher, which is great for smaller rooms. A dark color will make the ceiling feel lower (but think intimate or cozy not necessarily “the walls are closing in!”). And ceiling paint is usually flat, but sometimes, especially with a darker ceiling, eggshell or satin finish can add texture to the room. Do be aware that a higher sheen paint will reveal imperfections in the ceiling which may have resulted from scraping if you previously had a popcorn ceiling.
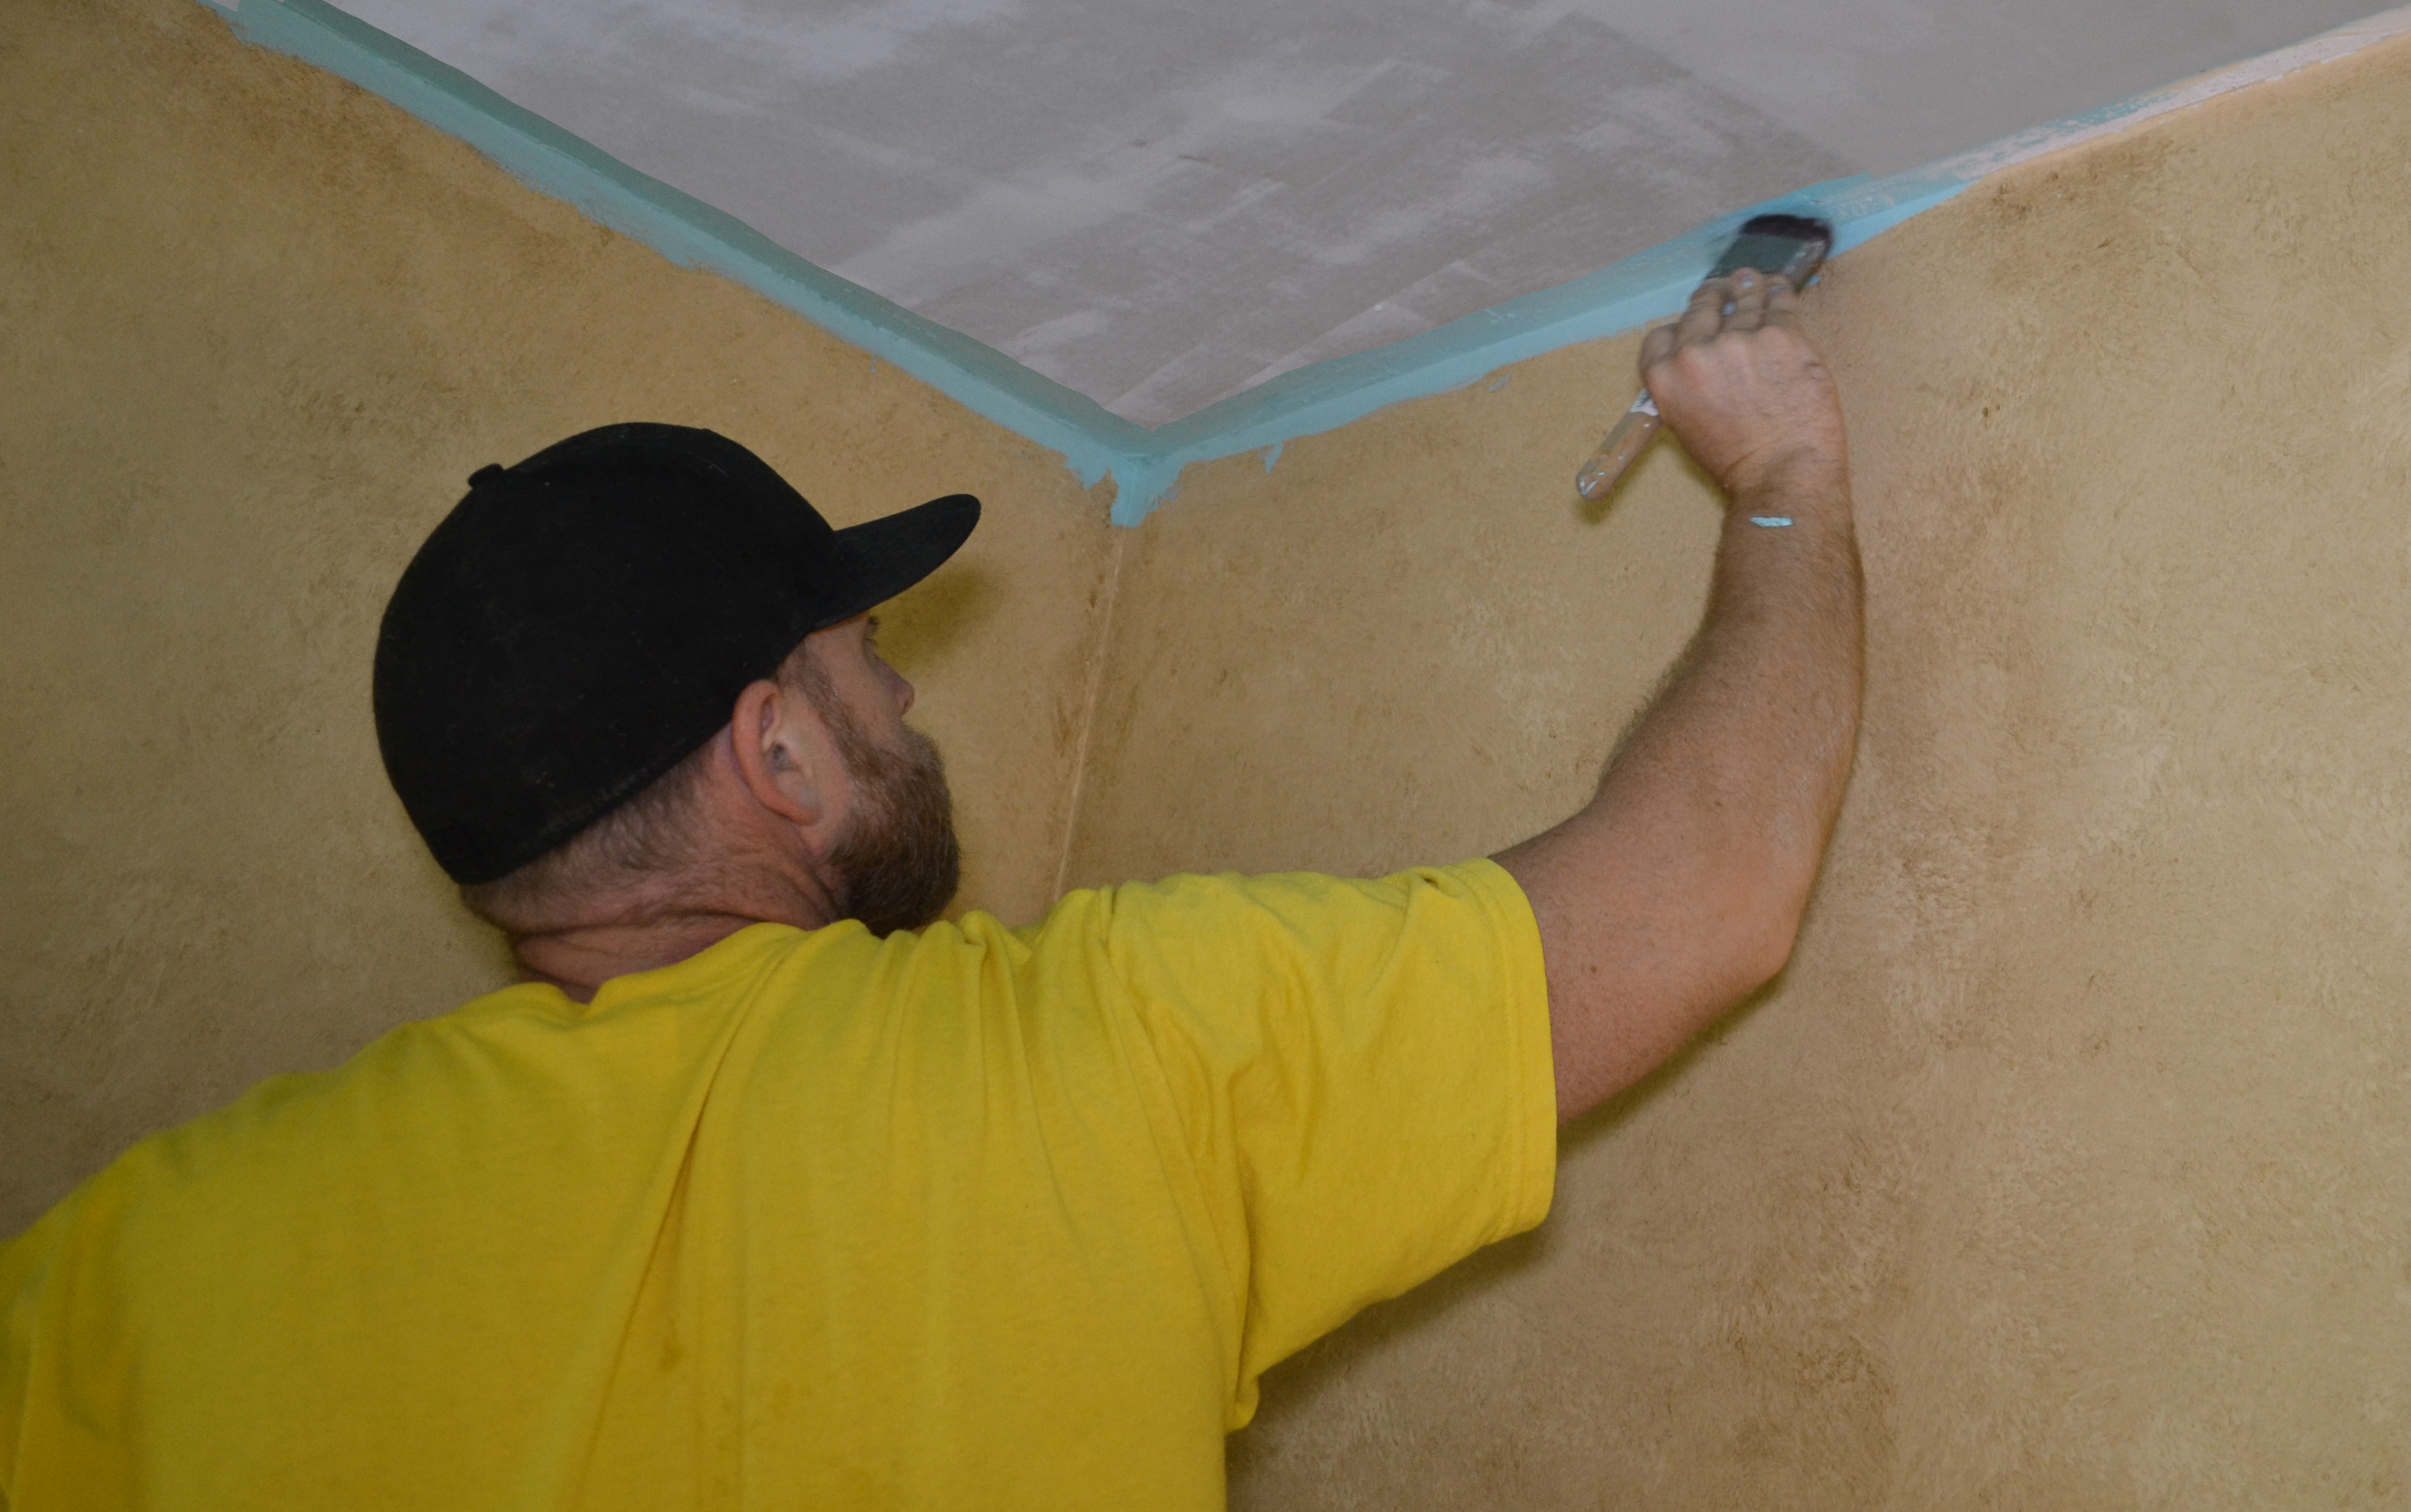
Cutting in the Joints Between the Wall and Ceiling
Now it’s time to get to the good part. Lay down clean dust-free drop cloths. We recommend starting with the ceiling. Using your favorite paint brush, by hand or with our Brush & Tool Holder, begin to cut in at the joint of the walls and ceiling. Paint far enough from the wall so that you can safely use a paint roller in the next step and not run the risk of bumping into the walls. If you are planning on painting the walls as well as the ceiling, it’s perfectly fine to overlap some of the ceiling paint onto the walls. If you aren’t painting your walls, run painter’s tape to keep paint where it belongs. Just make sure to take your time so that the seam of the drywall is covered with the ceiling paint. This step is very important because the eye will notice any gaps in color.
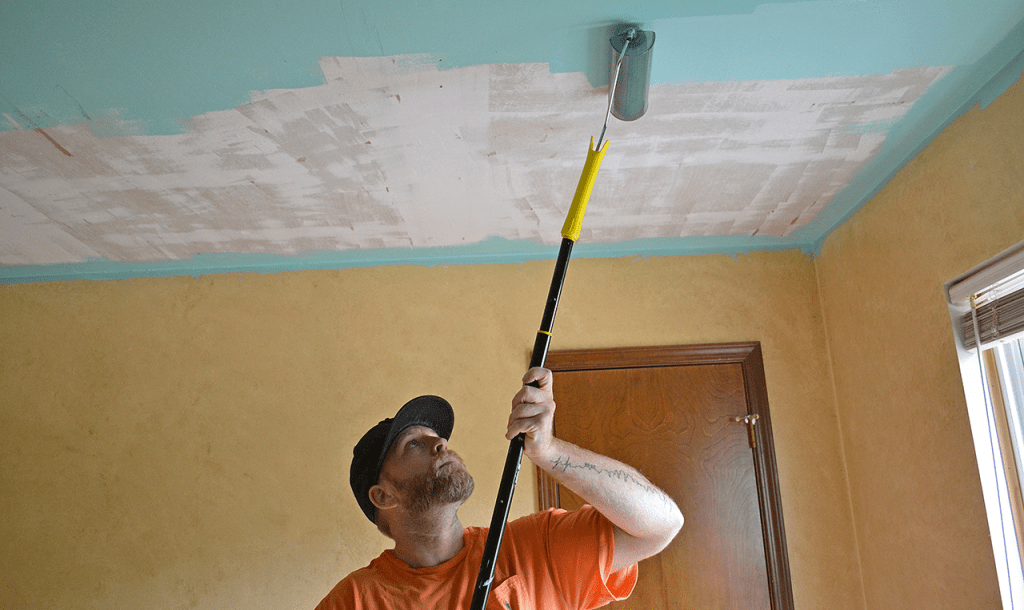
Rolling the Ceiling
With the cut in finished you can turn your attention to rolling. Not to toot our own horn, but Mr. LongArm has designed a product specifically for the purpose of keeping paint splattering to an absolute minimum. We highly recommend our Smart Painter II to handle this portion of your project (as well as the walls if you are moving on past the scope of this guide). The most unique feature of the Smart Painter II is our Splatter Guard that covers the roller. The guard keeps the paint on the ceiling and not on you. Roll out the ceiling as you would a wall. Make sure to keep the roller loaded, but not enough that the paint drips down after you’re finished with a spot.
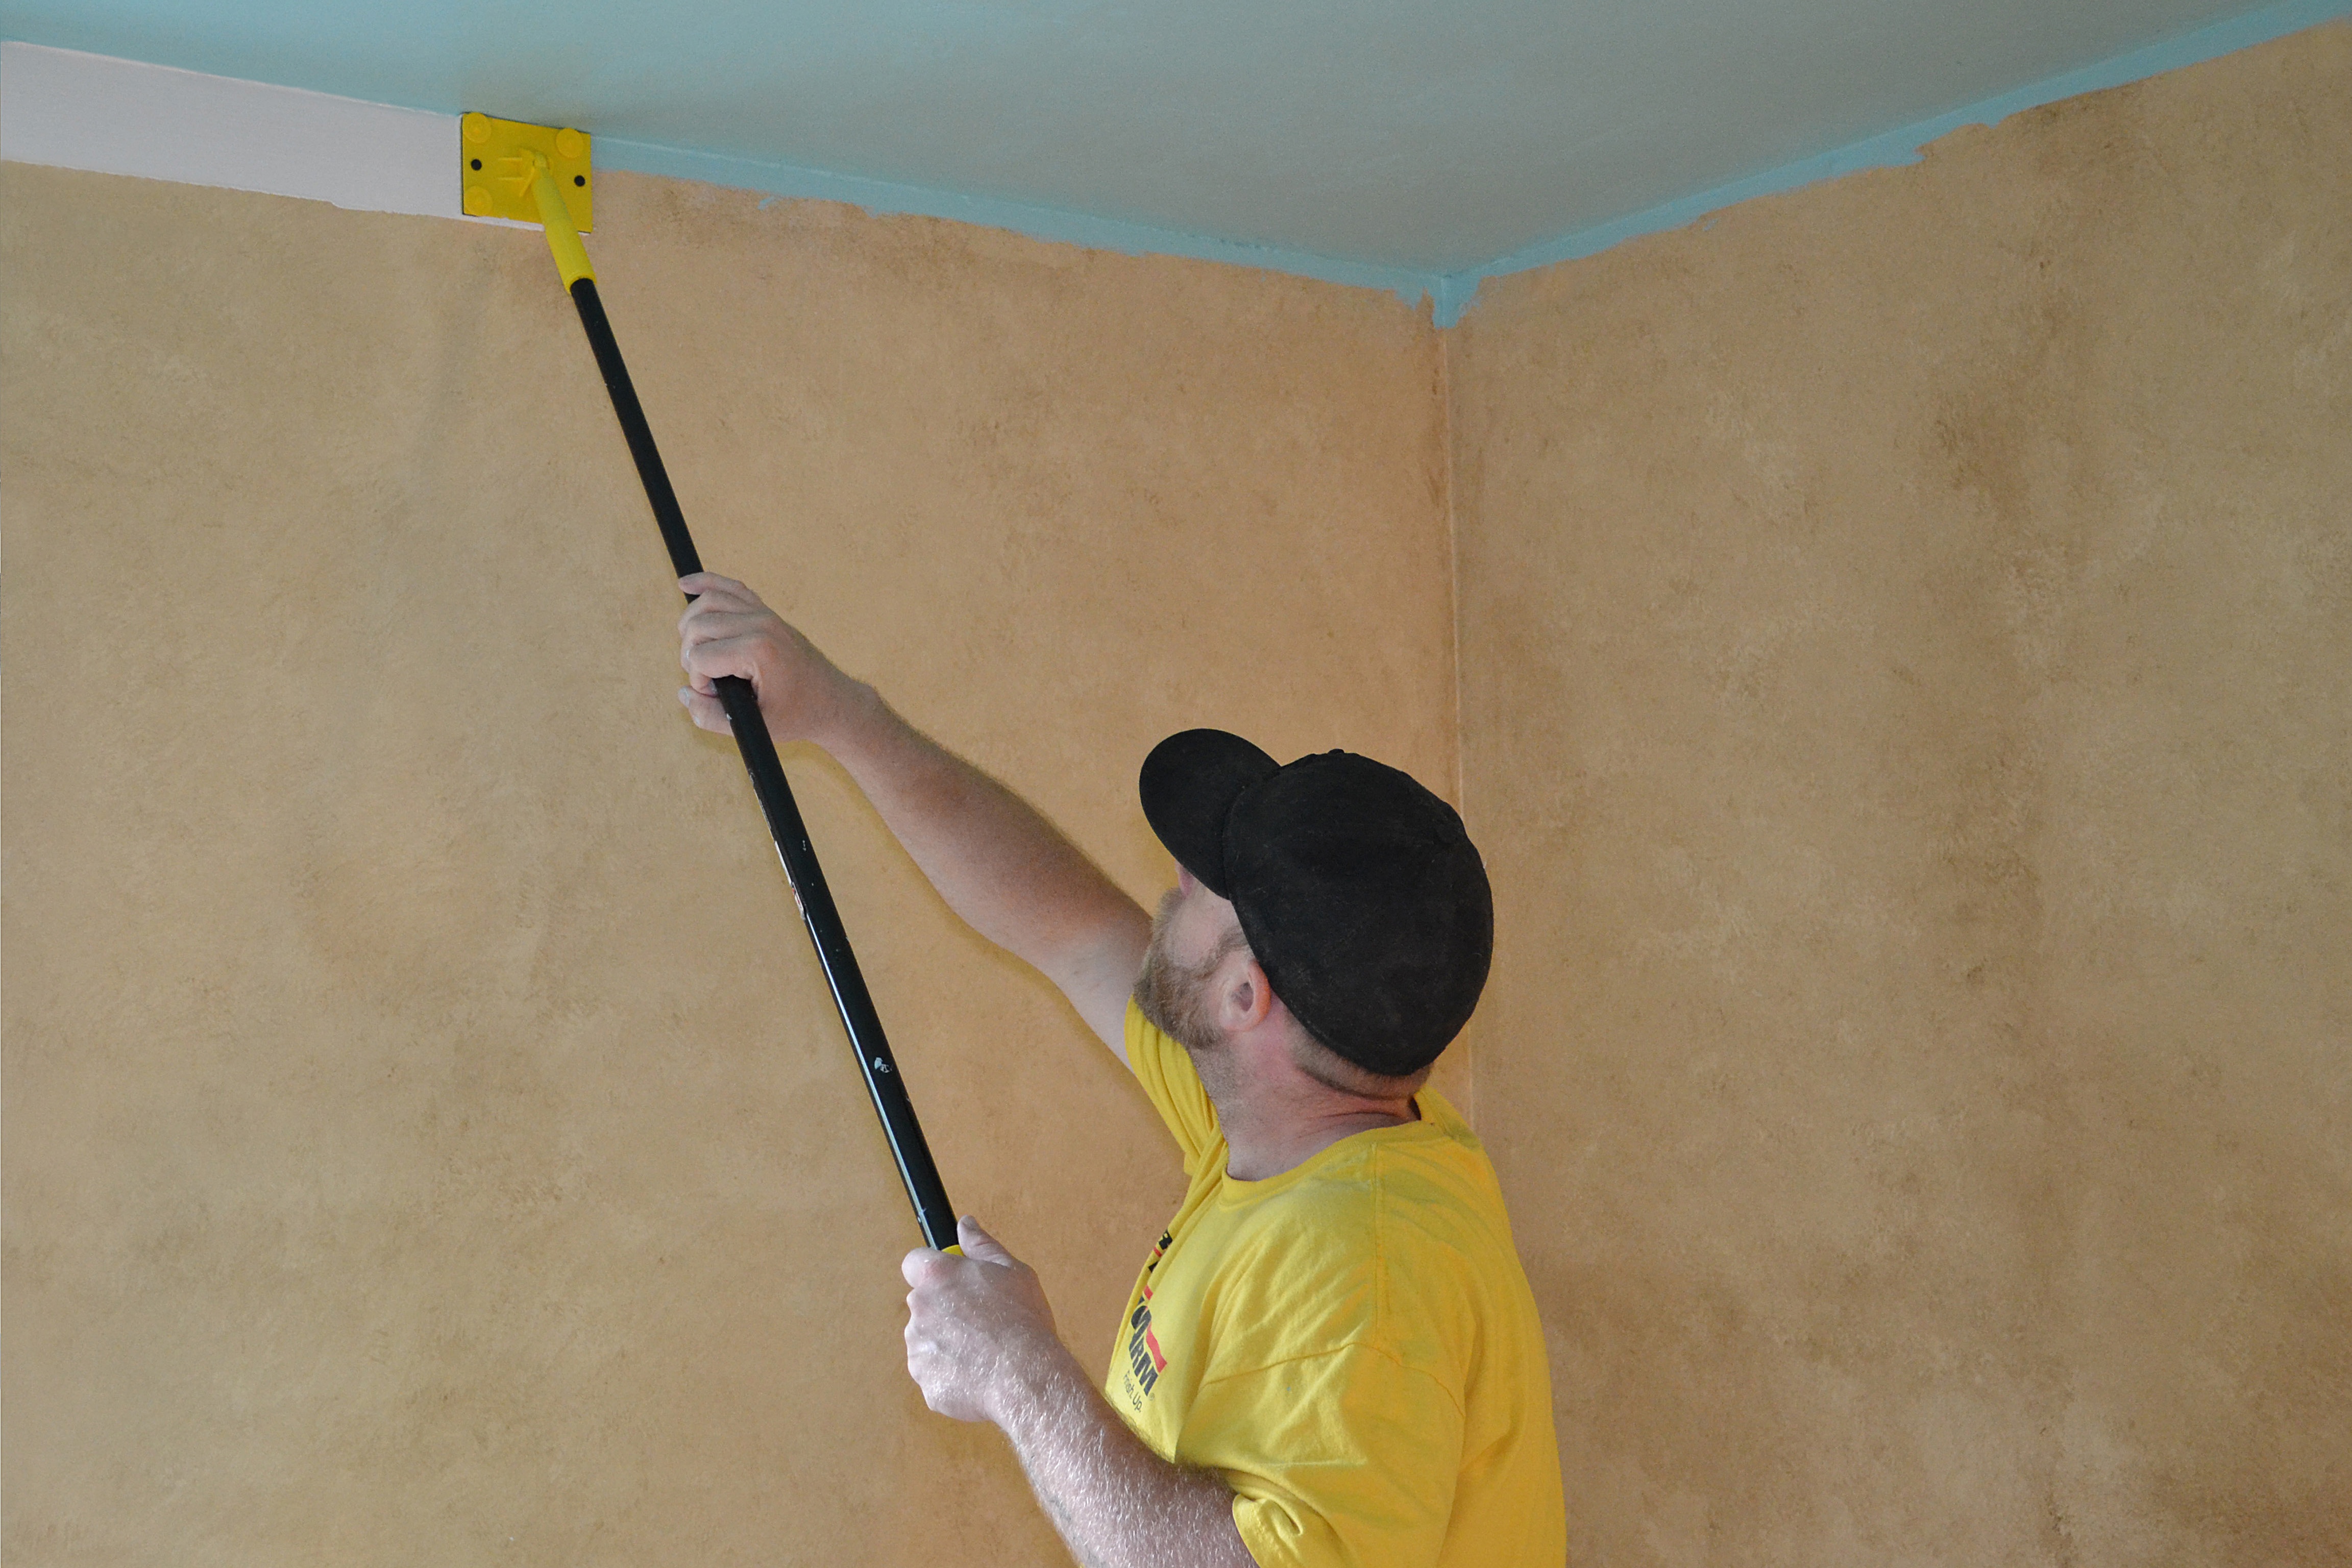
Painting the Walls
Once finished with the ceiling you can move on to the walls. We used the Mr. LongArm Trim Smart Paint Edger it makes a crisp clear paint line along the newly painted ceiling. It’s safer than using a ladder, and if you keep a smooth steady motion it’s much faster than a brush.
And there you have it! A step by step guide that will bring a major facelift to just about any room in the house with a little bit of a work and a few specialized tools. If this guide helps give you the motivation or the know-how to change up the ceilings in your home we’d love to see the results! Feel free to contact us and send us pictures of your beautiful newly painted ceilings!
3 thoughts on “Painting a Ceiling: Popcorn vs. Pop of Color”
I’m so glad you shared this How-to Guide: Painting a Ceiling with me! As someone who has just moved into a new house, I’ve been looking for ways to spruce up the place, and this guide looks like it will be really helpful. After reading through it, I’ve learned that it’s important to pick the right paint and primer, prepare the surface properly, and use the right tools in order to ensure a successful paint job. It also looks like I’ll need to take steps to protect my furniture and floors, as well as myself, from any paint splatters. I’m looking forward to getting started on my ceiling painting project, and I’m confident I’ll be successful with the help of this post.
Thank you for your comment and best of luck with your project!