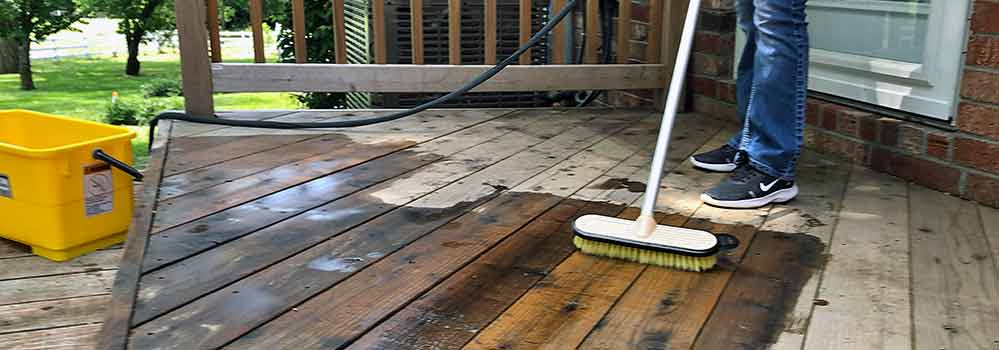
When was the last time you washed your outdoor deck or patio? From backyard BBQs and spring rain to family reunions and summer heat, our outdoor spaces can take a serious beating. If you’ve ever replaced or built a deck or patio you know it can be an expensive and time-consuming process. This guide will give you a quick rundown on how to perform a little maintenance now to save you a big headache in the future. If you want to learn how to clean your deck, you’ve come to the right guide.
What You’ll Need for this Project:
- Tele-Wash Water-Fed System
- Access to a garden hose and spigot
- 5-gallon bucket
- Your choice of deck cleaning solution
- Screwdriver (or hammer if your deck is held together with nails)
- Optional: Wood brightener
- Optional: Replacement boards if you deck is older
- Important: You will need approx. 48 hours of rain free weather
Maintenance and Repair
1. Check for Loose Screws
Remove your furniture and look over the surface of your deck/patio and search for loose screws and large splinters. The screws should be flush with the boards. You want to avoid pushing the screws too far as water can pool up and accelerate wear and tear.
2. Prepare Your Deck Cleaning Solution
Follow the directions on the packaging if you are using a consumer deck-cleaning product. There are several DIY options for making your own cleaning solution, start with this general cleaner from tipnut.com or check their website for more options.
General Cleaner:
1 gallon water
1 cup powdered laundry detergent (no bleach)
3/4 cup oxygen bleach (optional but good to use if mildew stains are present)
3. Get Down to Business
Attach your Telewash Brush Combo to a garden hose. Using it in tandem with your cleaning solution scrub down the entire area. The Telewash is a water-fed tool that will simultaneously wash away leaves, sticks, and other debris while cleaning the dirt and grime away. We made a great video to familiarize you with the features of the Telewash.

4. Optional: Deck Brightener
This step is for decks/patios that have not been stained. This will bring out the natural color of your wood. Follow the same steps as above only this time using your deck brightener. At the end you will see a dramatic difference in appearance.
5. Enjoy the Fruits of Your Labor
You’re done! Kick back and enjoy your hard work with an afternoon of fun in the Sun.
Let your deck dry for approximately 48 hours if you plan on staining or sealing, which we’ll go over in a future guide.
We hope you’ve found this guide helpful. If you have any questions or comments please leave them in the comments section below. For those of you who’ve cleaned your outdoor areas do you have any recommendations or warnings for cleaning solutions?


4 thoughts on “Project Guide: How-to Clean a Deck”
The article provides a comprehensive and informative guide on deck cleaning that is both positive and unique. It offers valuable insights and practical tips, making it a standout resource for anyone looking to revitalize their outdoor living space. The step-by-step instructions and accompanying visuals make it easy to follow along and execute the cleaning process effectively. Furthermore, the article goes beyond the basics by addressing common challenges and providing innovative solutions, showcasing a commitment to delivering exceptional guidance. With its clear and engaging writing style, this article stands out as a valuable asset for homeowners seeking to maintain and enhance the beauty of their decks.
Thank you for your comment we appreciate you taking the time to read our post and leave positive feedback!
From surface preparation to recommended cleaning agents, this resource serves as a valuable tool for homeowners looking to tackle their deck cleaning projects with confidence.
Thank you for your comment!