About the author: Mark Kirby is a homeowner who shared these helpful tips he learned while painting with a Mr. LongArm 3-section extension pole. Thanks for sharing these Mark!
How to Use Longer Paint Roller Extension Poles
by Mark Kirby
Tip #1 –
Do not over load the paint roller and always make sure the paint is evenly distributed on the roller. Less paint makes the pole less top heavy and makes the roller easier to control at long extensions. Lighter paint loading of rollers give better painting results and fewer runs and drips. Just be sure to avoid dry rolling which can cause an uneven paint job.
Tip #2 –
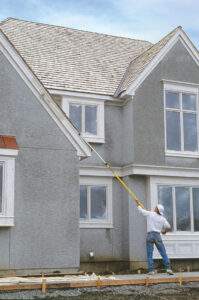
Start from the lowest point to be painted and work your way up. This will allow easier use of the pole and less changes in the pole extension length. This will also give you time to get used to painting with the pole at various extensions.
Tip #3 –
When moving a fully extended pole around, grip the middle extension towards the top near the last section. Also grip where the lower pole and the middle extension meet. This grip makes it easier to control the pole and puts less strain on the upper extensions. Always support the extended pole with both hands when raising or lowering it.
Tip #4 –
Do not push too hard when painting or loading the roller with paint. It is much easier to let the roller do the work for you.
Tip #5 –
If you wish to load the paint roller while the pole is extended to a longer length you should grip the last section near the roller and grip the middle section as close as possible to the last lower section you can reach. This makes it easier to load the paint roller and also provides support for the extensions.
Tip #6 –
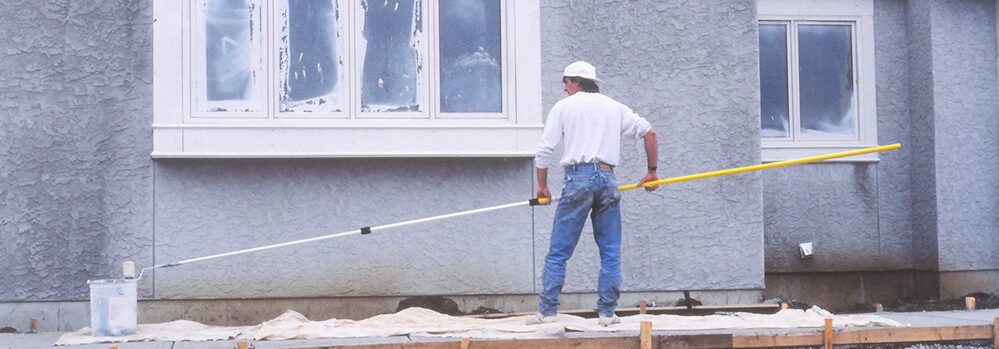
 When using the maximum extension you will find it easier to hold the pole vertical until it is close to the surface you want to paint. Grip the lower pole and the center pole as close to the top of each section as possible. Approach the area to be painted and when very close to the area, let the pole gently lean itself towards the surface to allow painting. Once the roller is touching the area to be painted you can move away from the structure and adjust your hand grip locations for easier painting.
At maximum extension grip the center pole in addition to gripping the bottom pole especially while moving the pole around or painting. This allows better control and does not over stress the poles. The key to using a long extension pole is proper placement of your grip and balancing the pole so it is not top heavy or bottom heavy.
Tip #7 –
To tighten or loosen the chuck and collet locking mechanisms you should grip the pole piece below the collet while locking or unlocking the extension piece you wish to slide. Tighten the chuck until the pole that comes out of it does not slide. Test by trying to slide the pole after tightening the chuck. There is no need to over tighten the chuck and doing so could damage the pole.
Tip #8 –
Keep the poles free of paint or any other substances so the extensions will slide freely. Completely remove any paint on the extension poles before the paint dries. Keep a wet rag handy for latex-based paints or a paint thinner rag handy for oil-based paints to remove any paint that gets on the poles. Make sure the pole or chuck and collet you cleaned is totally dry of water or thinner before sliding the pole or adjusting the chuck and collet.
Tip #9 –
When storing the pole remove the paint roller and collapse the pole to its shortest length.
Tip #10 –
Using a long-handle paint roller is not recommended. Standard length handle paint rollers work best.
If you still have questions you can watch our Pro-Lok® 3-section extension pole video or contact our customer service representatives.
2 thoughts on “10 Tips for Painting with a Mr. LongArm 3-Section Extension Pole”
Great tips for painting with a Mr. LongArm 3-Section Extension Pole! One thing I found helpful is to make sure the pole is securely tightened before starting to paint. Also, starting from the top and working down has helped me achieve a smoother finish. Thanks for sharing these helpful tips!
You are very welcome and thank you for your comment!