When you are in the throws of a remodeling spree it’s easy to bypass closets and leave them out of the makeover process. The humble closet has its own set of rules. It can be an extension of a room or an exciting pop of color. We’ll give you a list of needed supplies, and step by step instructions on how to paint your closet. This project is easy enough for a weekend, and can really change the entire look and feel of a living space.

What You Will Need for This Project
- Screwdriver
- Broom
- Wash cloth or Electrostatic cloth
- Plastic sheeting or towels
- Paint stirring stick
- Paint tray
- Actual Paint
- Mr. LongArm Paint Edger
- Mr. LongArm Spatter Shield Roller
Prep Your Space
- Remove all the shelving, wire wracks, dowel rods, etc. Make sure to fully remove all mounts and screws.
- Clean clean clean! Closets seem to attract more than their fair share of cobwebs and dust bunnies. Make sure all surfaces are clean before beginning any painting job. Start with a broom and, from the top, sweep away any dirt or debris. Use a damp cloth or an electrostatic cloth to grab anything left by sweeping.
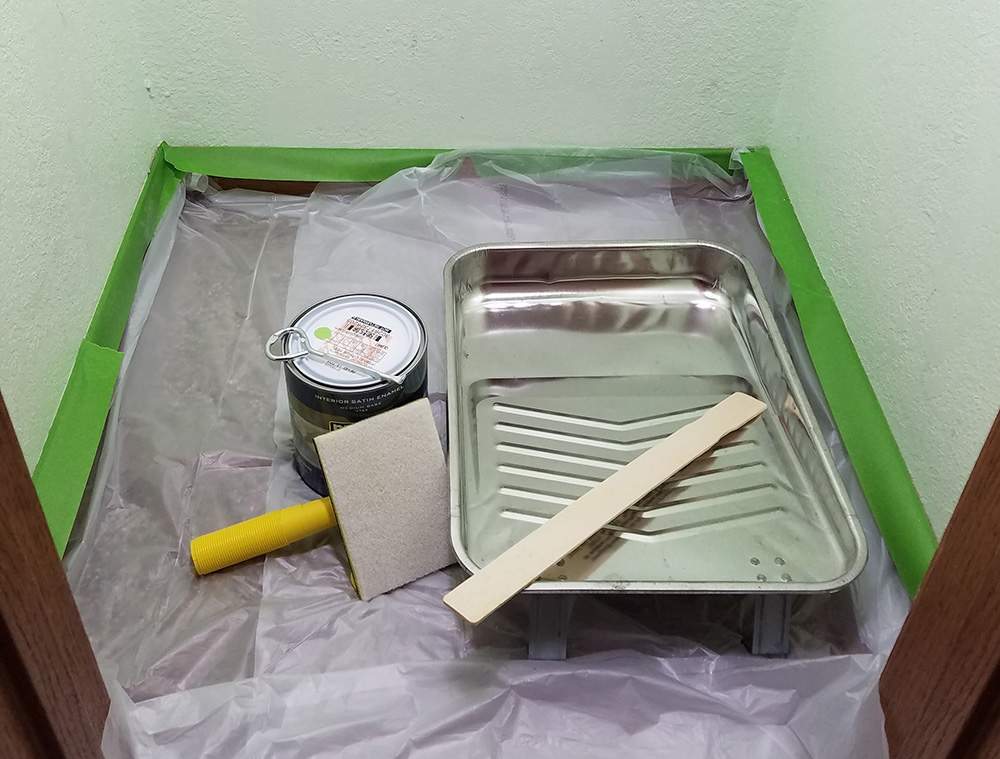
- Cover the floor of your closet with plastic drop cloth or towels (don’t use the good ones), just in case.
Start Painting
- Mix your paint and poor it into the paint tray. Only fill the tray’s reservoir leaving plenty of room along the ridged ramp for removing excess paint from your tools.
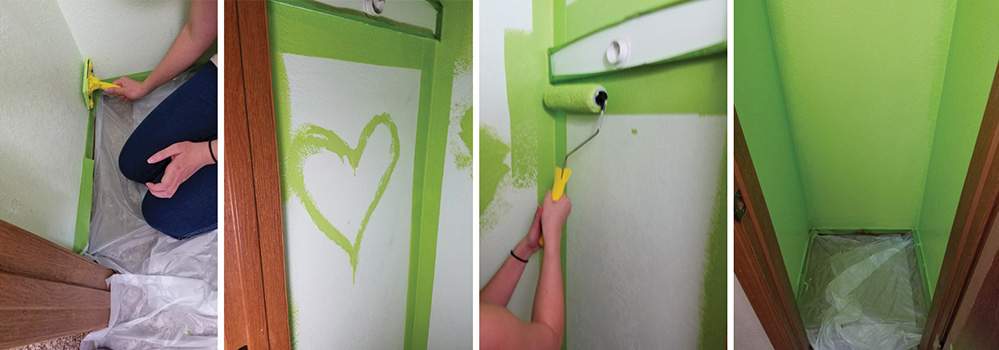
- Using your paint edger, edge around the ceiling of the closet, woodwork and baseboards. The edger attaches to your Smart Painter II extension pole and comes complete with guide wheels that make trimming easier. Take your time and wipe off excess paint around the sides of the edger when you refill the paint pad. This will keep paint off your trim.
- Now you’re ready to use the Smart Painter roller to paint the walls of your closet. Dip one side of the roller into the paint tray. Roll your paint roller over the ramp several times to assure the paint is evenly distributed all the way around. Use a “W” pattern to roll the paint onto the walls.
 It’s that simple to add a feeling of continuity or zest of fun to your room makeover. What colors would you use in your home? Have you completed this project already? We’d love to see the results if/when you do!

