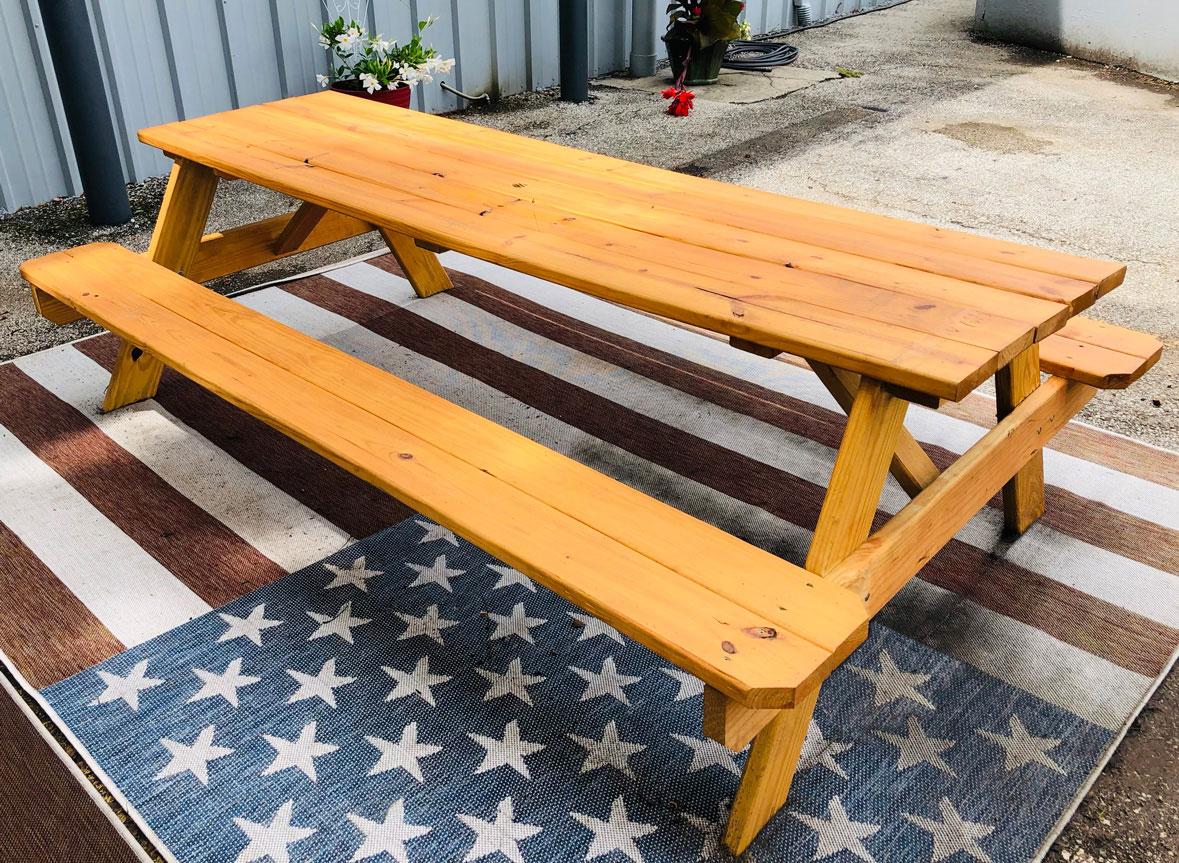
Mr. LongArm designed Woodmates stain applicators with decks and fences in mind. But Woodmates applicators are also highly effective when it comes to other staining projects such as wooden outdoor furniture. To illustrate this and show how flexible these tools can be, let’s look at Mr. LongArm’s new picnic table. Recently we acquired a brand new picnic table for our outdoor break area. It needed a coat of stain, not only for good looks but also to protect it. The harsh Missouri weather can really do a number on untreated outdoor wood items. Without further ado let’s look at how to stain a picnic table with Woodmates Stain Applicators.
LET’S GET STARTED:
If staining outside check the weather.
Similar to staining your deck or fence you will need a sunny day to apply the stain and allow it to dry. Shoot for 24 hours of sunlight to be safe. Skip this step if you are planning on staining wooden furniture inside or under a roof where it is dry.
Choose a stain.
We recommend finding a water-based stain in your preferred color. One that would go best with the type of wood the furniture is made of.
Clean the picnic table with deck wash.
If your picnic table needs to be cleaned before staining you can apply deck wash with Mr. LongArm’s Tele-Wash Water-Fed System. Deck wash is easy to find in the paint and stain sections of most hardware stores. Let the wood dry thoroughly, 24 hours before applying stain.
Staining your picnic table.
If you have a friend to help, flip the table upside down or on its side and stain the bottom of the tabletop, legs, bench and bench supports. Then you can flip it back over and focus on the top of the table and benches.
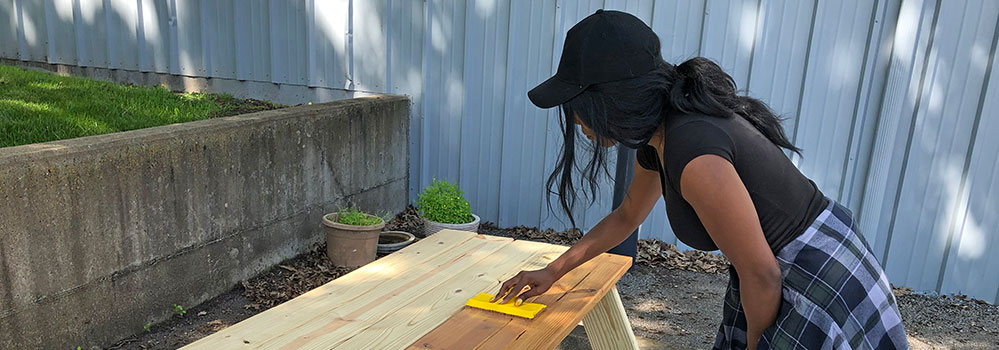
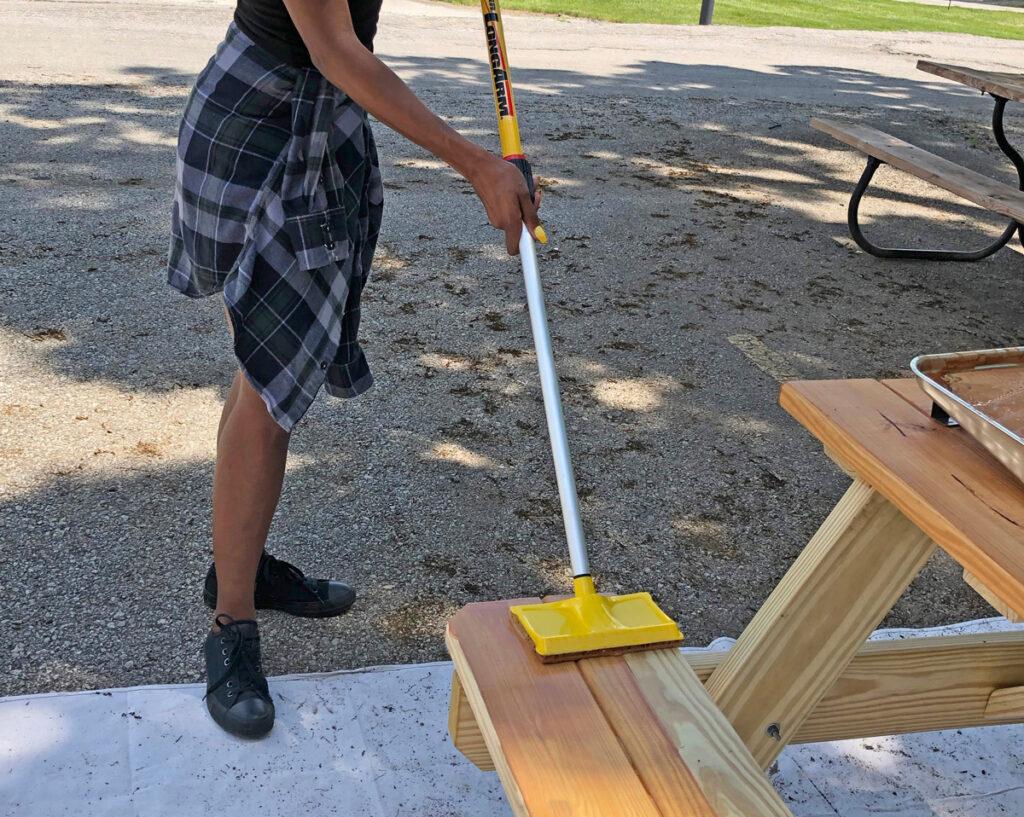
Stain the picnic table with the 7-inch Stain Applicator.
The 7-inch Stain Applicator gets the job done here, it is just the right width and can be used with or without an extension pole. We used the ProPole medium duty pole, which is a great option to use with the Woodmates Stain Applicators.
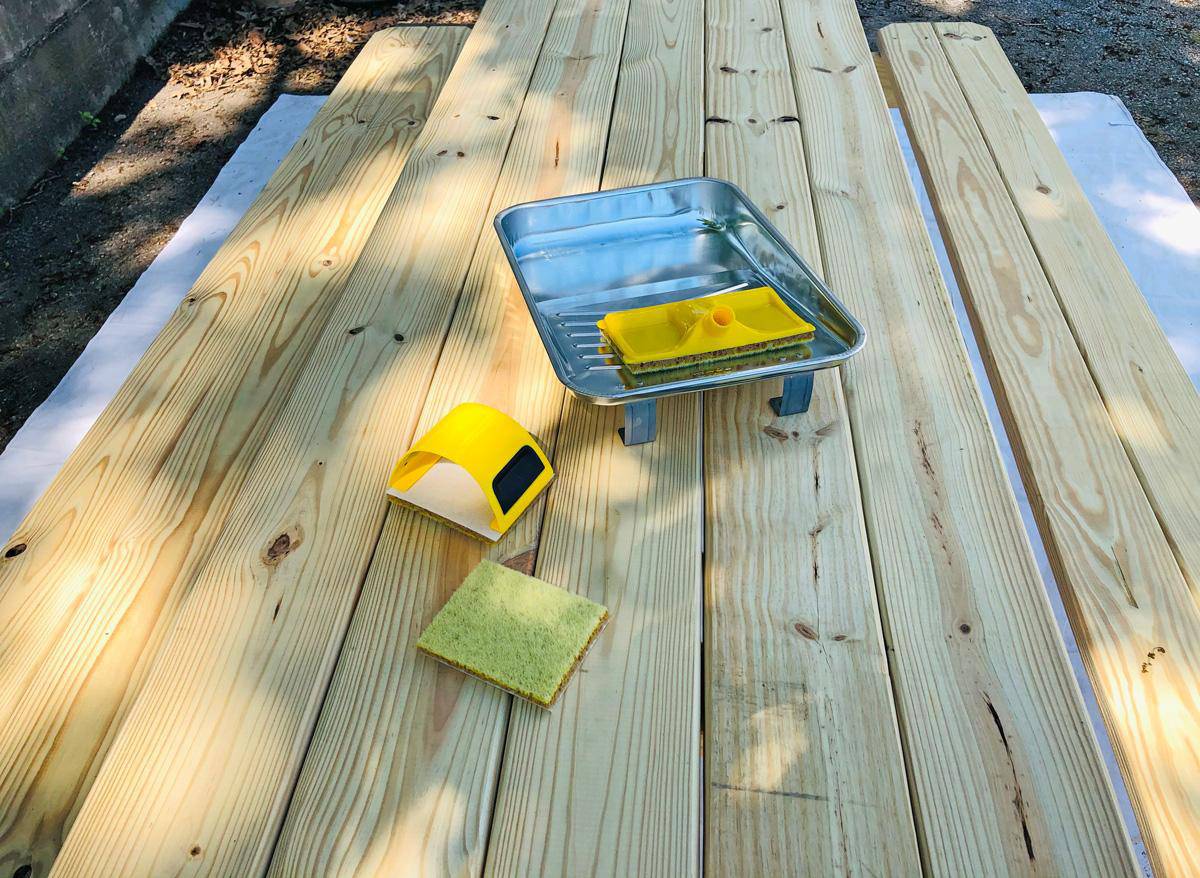
Advice on using the 7″ Stain Applicator:
- Use a paint tray to load the applicator, be sure to not overload it with stain, just enough so it doesn’t drip.
- Stain with the grain of the wood. You will be able to tell based on the resistance you feel when pushing it or pulling it on the board.
- Try to stain in one long stroke and avoid going over the same spot repeatedly.

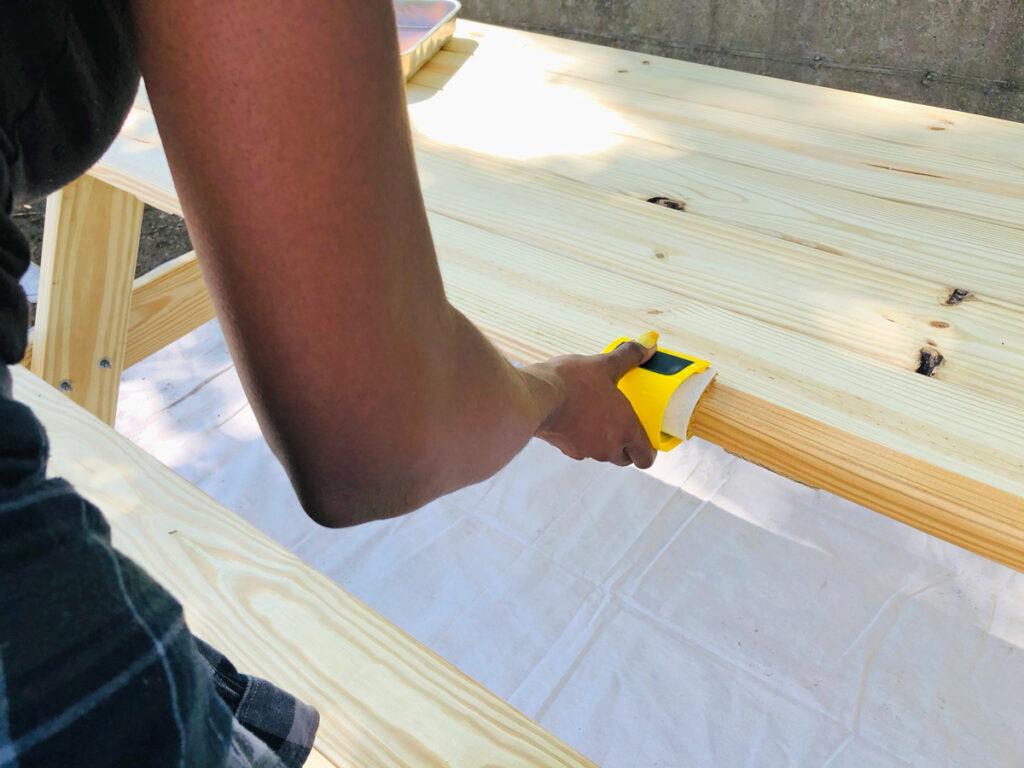
Use the Contour Stain Applicator to stain smaller boards and the edges and sides of boards.
The Contour Stain Applicator will flex with edges so when staining the picnic table, it does most of the work. The key to using the contour stain applicator is to not overload it with stain, less is more, and apply moderate pressure more to the middle of the applicator when using it.
Staining our picnic table was a quick and easy project, made even simpler thanks to the versatility of the Woodmates line. If you want to stain a new piece of wooden outdoor furniture or breathe new life into an older piece. Just follow this quick guide and take advantage of our wide variety of staining products. You will be glad that you did!
Let the picnic table dry for 24 hours and enjoy!