For a very long time DIYers had to use paint rollers and brushes for applying deck stain. Then, we came around and figured that there had to be a better way to go about staining your deck. We came up with the ultimate line of deck and fence stain applicators. While these deck stain applicators are straightforward to use, like many tools, there are always a few tips to make things easier. Luckily for you, after staining many a deck with our Woodmates applicators, our team has compiled a few of those tips to make using our stain applicators even easier.
Tips for Use
1) Rinse the Pad Before Use
 It may seem counterintuitive to wash the pad before using it, but we have good reasoning. The fibers on a deck stain applicator pad are called flock. Here’s the truth: all pads will shed a bit of flocking when they are fresh. To keep fibers from getting on your deck it’s as simple as rinsing your Woodmates pad with some running water. Wring out the pad similar to a sponge and let it dry for a few minutes. Once the pad has been rinsed and dried once, you are ready to start staining!
2) Mind the Gap
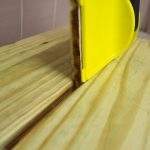 Your deck is clean and dry, you’ve got your Woodmates stain applicators and now are ready to go! Start by staining in-between the boards. By staining the gap first and the boards on each side of it, you will ensure that stain is evenly spread across the visible areas of your deck. Alternate between the gaps and boards as you stain your entire deck. See #4 for more on this.
3) Gap Staining
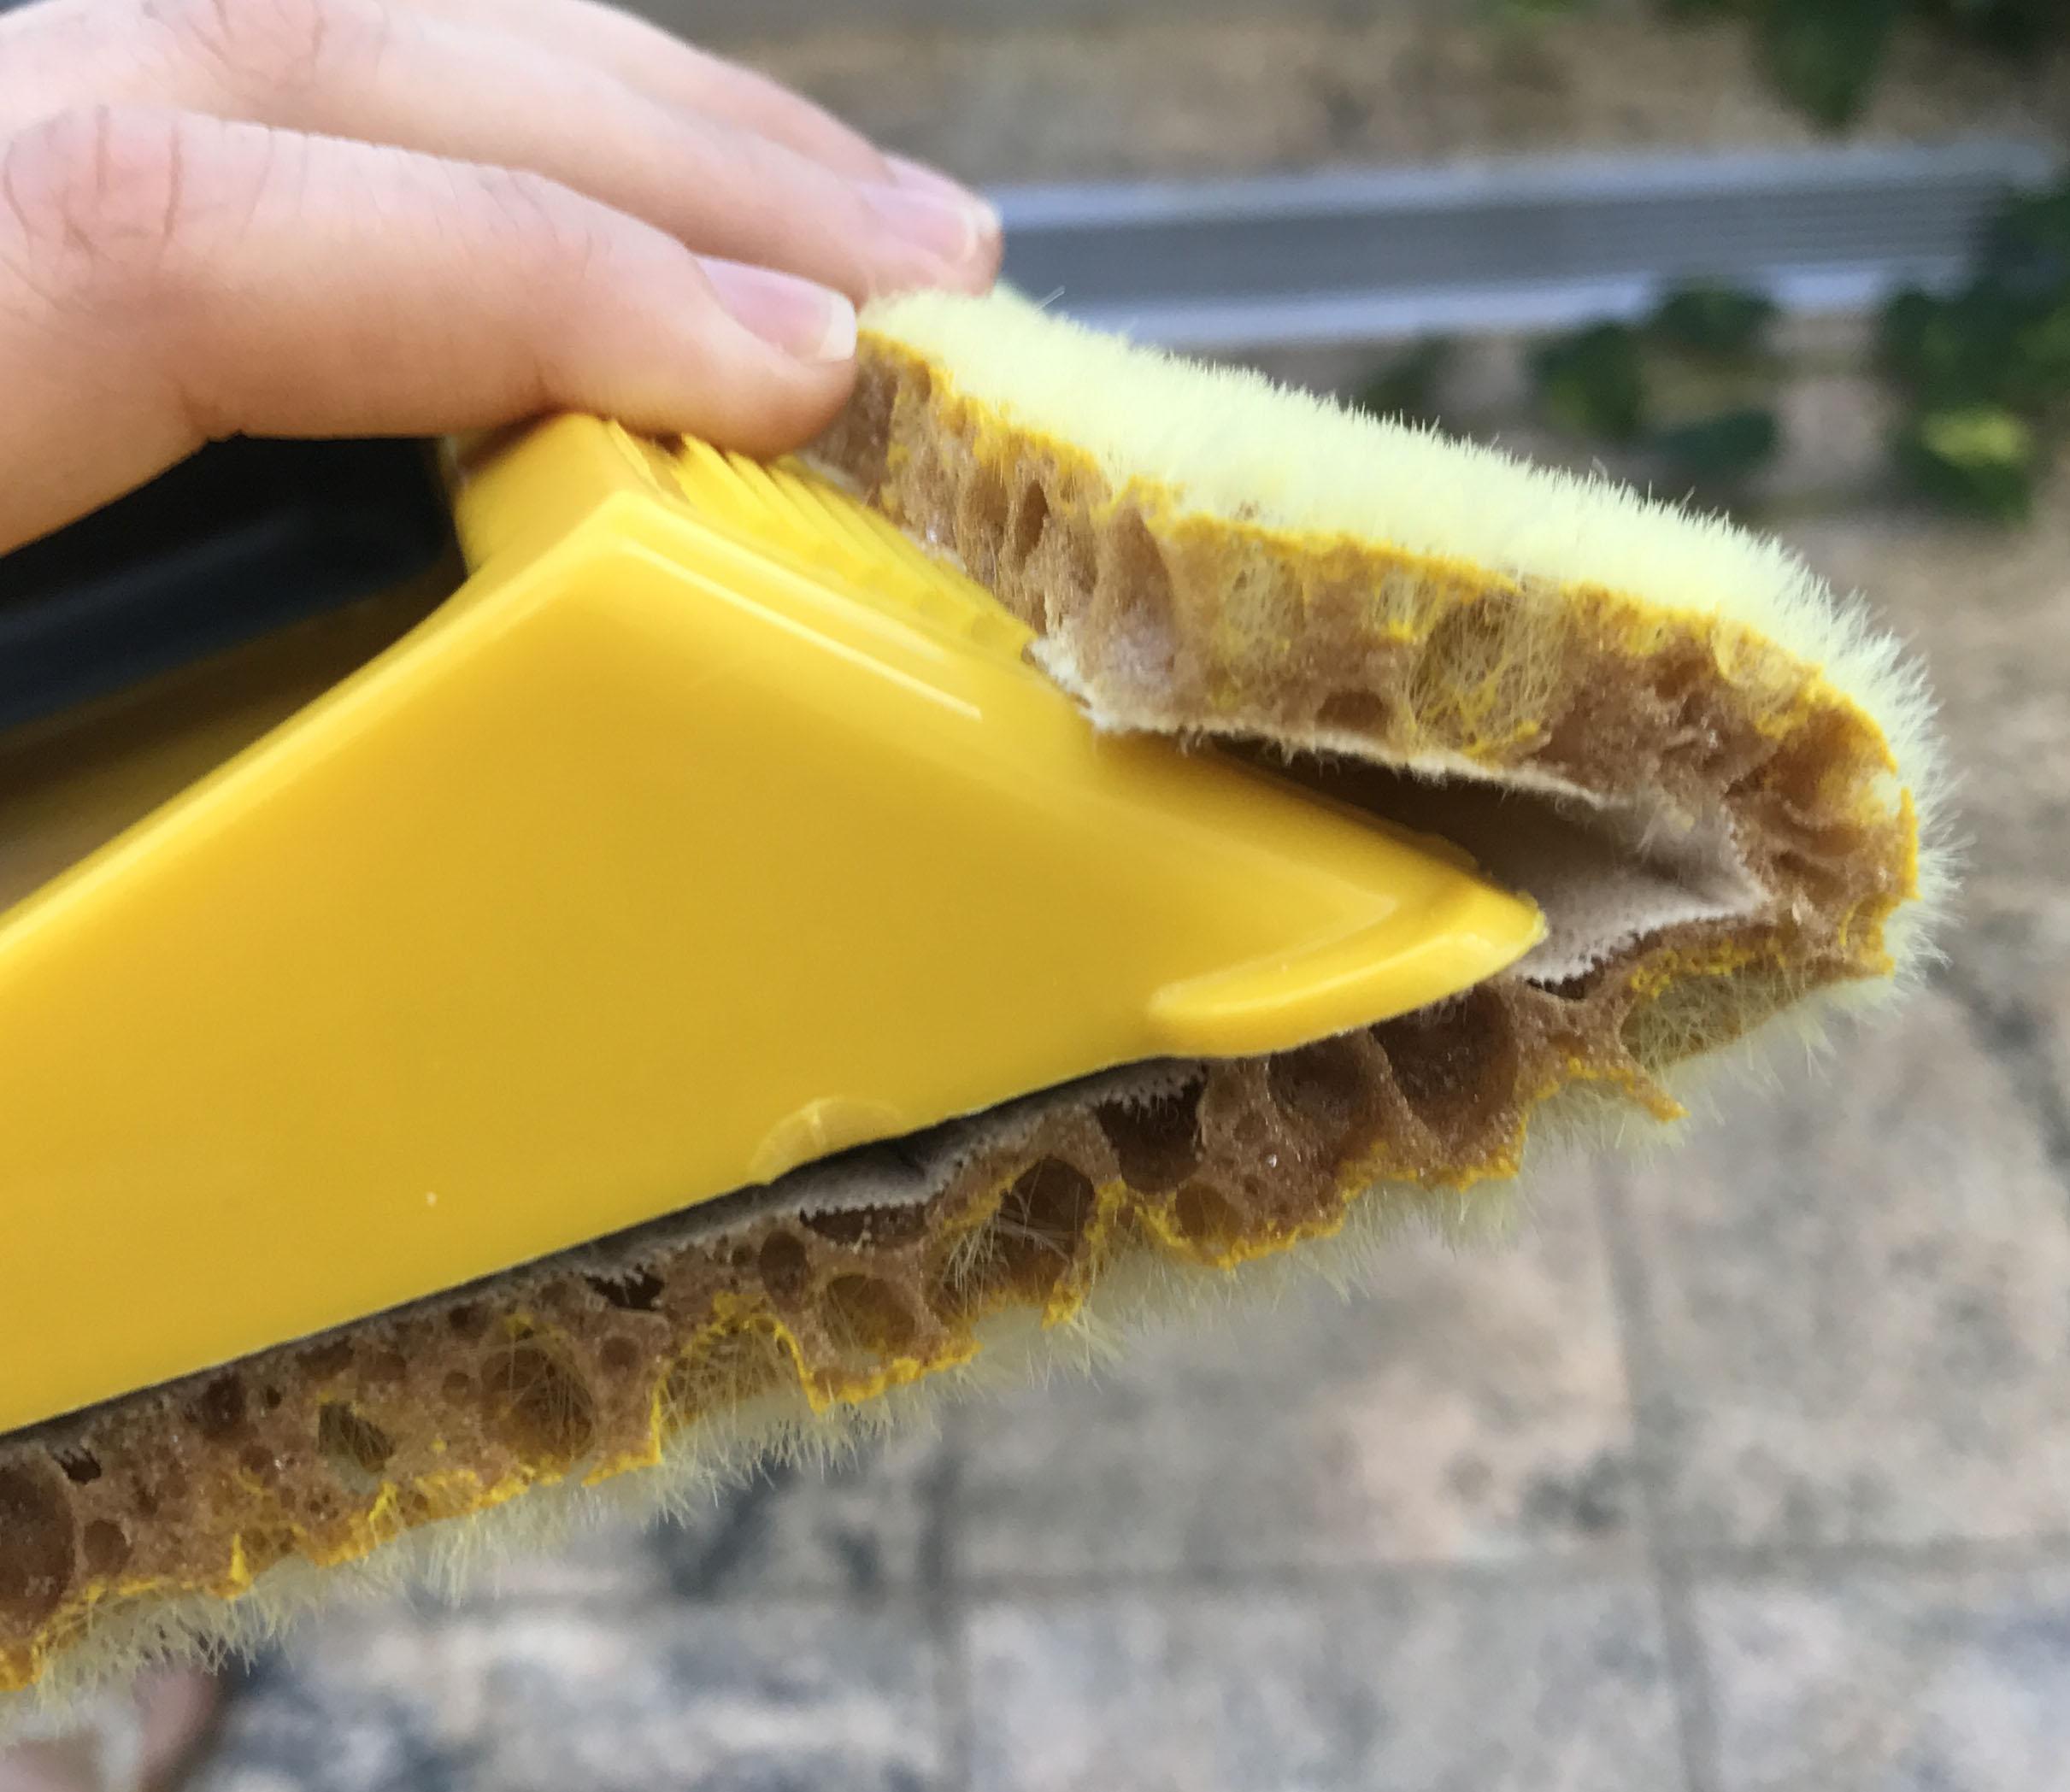 Deck boards that are far apart from one another may have aesthetic issues if you don’t stain far enough into the gaps. Enter the premium 12″ stain applicator, it’s built-in gap tool quickly stains both sides of boards. Plus, you can remove the stain pad and reposition it to increase the length of the gap tool to a max distance of about two inches. Those two inches should allow you to reach the entire depth of your deck boards.
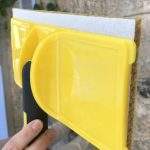 The 12″ Premium applicator is not the only Woodmates able to get in between boards. The 9” Standard applicator also has a beveled edged pad, and can be readjusted to get a little further down if necessary. Just remove the pad from the hook and loop system then reposition it as shown in the picture.
4) Double-end Stain Applicator
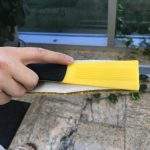 The Double-end stain applicator is the answer for applying deck stain onto the most awkward spots. In addition, it is the perfect tool for those moments where you think you are done then notice a spot that you missed or was not done correctly. For detail work in really tight spaces the same pad repositioning trick can be done with the Double-end Stain Tool. Remove the wrap around pad and reposition so the pad attaches only to one side of the hook and loops. Removing the wrap-around pad cuts down half the thickness of the tool and gets you those professional quality finishing touches.
5) The 2-in-1 Contour Stain Applicator
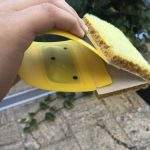 Before we came to market with our Contour Stain Applicator, your choices for painting spindles and balusters were either a paint brush or messy glove. Aside from making quick work of those tasks, another hack for the Contour Tool is that you can flex the pad outwards and use it as a quasi-paint brush to apply deck stain into crevices or paint slightly larger surface areas. A quick bonus tip is to stain the railings and balusters first. Why stain railings and balusters first you ask? Because you do not have to wait for the rest of the deck to dry before doing them. Saving you time.
Additional Tips
6) Premium Stain Applicator Requires a Larger Paint Tray
The width of the premium stain applicator enables you to stain two boards at the same time. It’s important to note that it requires a paint tray that is at least 13″ wide. If you happen to find yourself in a situation where you did not plan for that and need an alternative, you can always use a 9 x 13 rectangular baking pan or something similar.
7) Cleaning Your Stain Applicators
 When cleaning your deck stain applicators keep in mind that water-based paints/stains clean up with soap and water. Mineral spirits will make short work of clean up when using oil-based products. Follow up with soap and water then, like we mentioned earlier, wring it out like a sponge. Now you are ready to use the applicator for your next project!
The one exception is the 7” basic stain applicator, we’ve found that mineral spirits designed to dissolve adhesives will also dissolve the adhesive that holds the 7” pad in place. Simple soap and water with a little elbow grease will leave the stain pad useable for your next job. Use a paint stir stick to wring the 7” out before you store it away.
8) Warning – No Polyurethane Coatings
The viscosity and quick drying nature of polyurethane could eventually pull our pads off the hook and loops. We do not recommend Woodmates staining applicators for these types of floor coatings.
In Conclusion
There you have it! A few simple tips to best take advantage of these nifty products. No need to be intimidated by that broad expanse of wood that needs staining, using these Woodmates products will save you time and money.
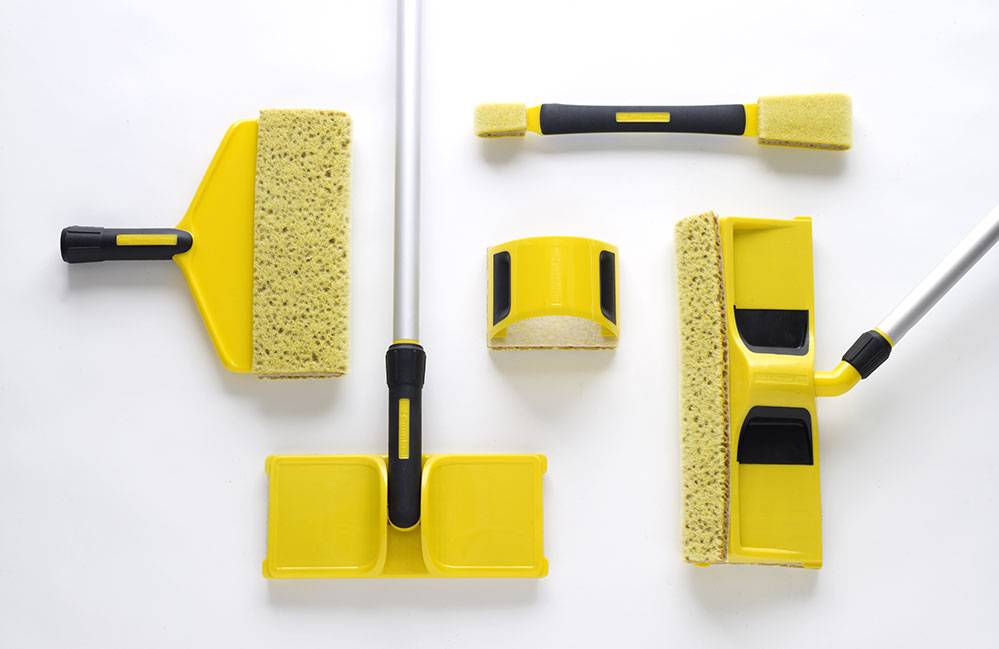
Finally, we are now selling our 7″ stain applicator kit on our website. It includes a 7″ stain applicator and Contour Stain Applicator, along with a replacement pad to help you get started staining. For any other questions about the Woodmates products give our customer service team a call!

2 thoughts on “Tips for Using Woodmates Deck Stain Applicators”
Great tips on maximizing the use of Woodmates deck stain applicators! Your hacks for achieving a professional finish are really practical and effective. Thanks for sharing these valuable insights!
Thank you! We’re happy to help our customers get the very best results when using our Woodmates stain applicators!